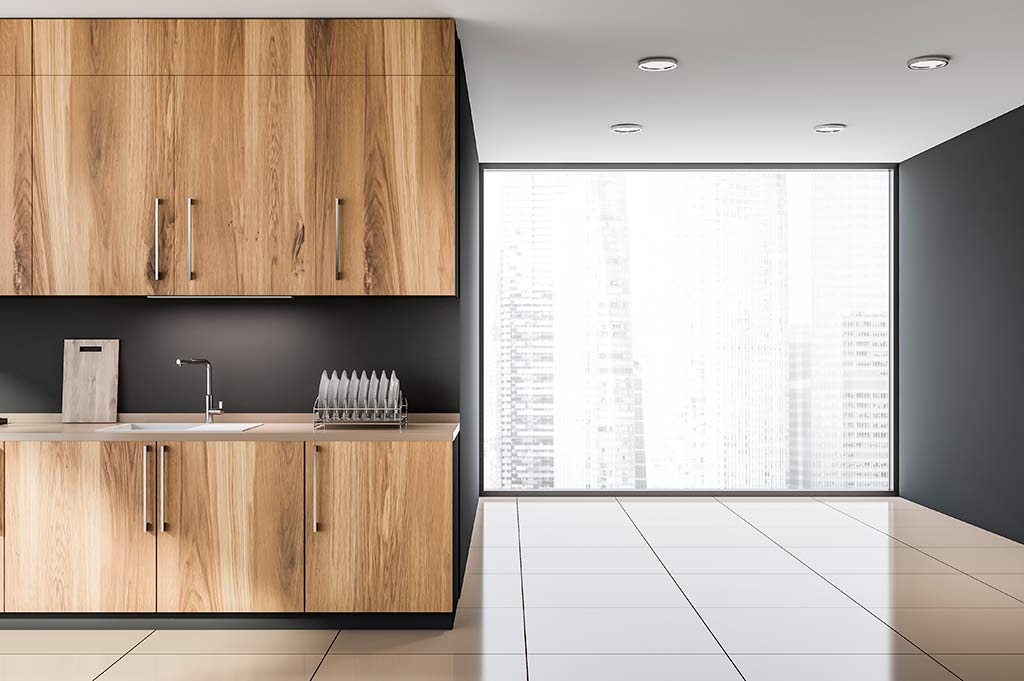

According to the Bureau of Labor Statistics, there are close to 40,000 tile and stone setters in the United States. However, many people still do not know how to tile around corners, which is important for many tile installations. Do you want to learn more about the steps to tiling around corners? Would you like to know which tools and materials you can use, along with other tips and tricks to make it easier?
Keep reading this article to learn how to install tile properly around corners and other helpful tiling tips.

Choose the Right Tools
First and foremost, you need the right tiling tools to properly tile around corners for your project.
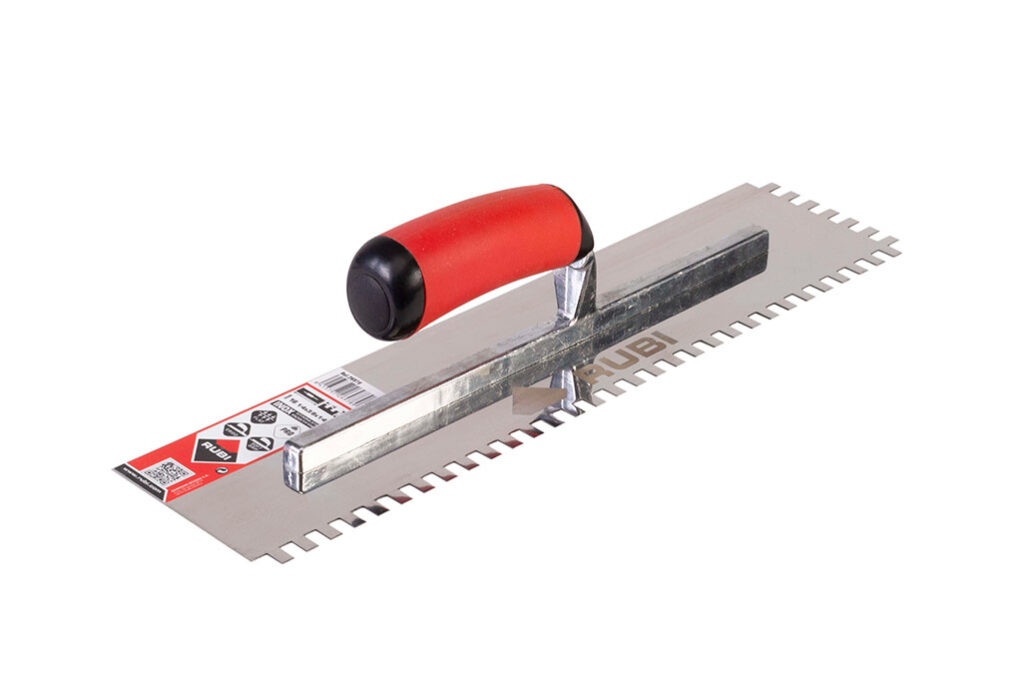
For example, you will need to get adhesive that sticks the tiles to the type of flooring that will be beneath them and to be able to spread the adhesive, you can get a spatula or trowel.
When you are cutting the tiles, you will need to get either a manual cutter or a wet saw to cut the tiles to size without getting dust everywhere. Finally, you will need tile trim to finish the edges, a rubber hammer, and a sponge.
If you are looking for tools to help with your tiling project, RUBI is here. Whether you need tools to cut your tiles, tools for laying your tile, or even safety equipment, we have the products you need.
Measure and Cut Tiles
Next, it is time to measure and cut the tiles you will be laying. Getting an accurate measurement is vital to get a good fit in your tiles. If you don’t measure correctly, you may have a wide gap between the tiles or tiles that do not lay flat.
There are a few ways you can measure tiles before you cut them. First, you can hold the tile that you are preparing to cut over a full tile. Then, hold another tile against the wall so they overlap. Use a pencil to mark the area that is not overlapped and cut that section. If you use this method, be sure to cut a little extra off the tile to leave space for the tile joint.
Second, you can use a tape measurer to find the right measurements. Take the measurements from the top corner of the area you are tiling to the bottom corner and draw the measurements on your tile.
There are several ways that you can cut tiles. For example, you can use manual tile cutters, angle grinders, and a wet saw.
Regardless of which tool you use, it is vital that you measure your tile properly before cutting. Otherwise, you may waste materials and your project will cost more money.

Corner Trim Method
An easy way to tile around a corner is to use corner trims. These are used to fill the space when walls are crooked or not completely vertical.
First, you need to install the corner trim. You can secure it to the wall when you install the tiles. When the adhesive on the tiles is dry, the corner trim is locked into place. Using a corner trim allows you to prevent gaps between the tiles.
Tile Only Method
You can also tile a corner without using plastic trim.
For internal corners (those of less than 180 degrees), you will begin by installing tile on one side of the corner. Using a notched trowel, you will apply the adhesive and stick the tiles to the wall, making sure they are perfectly level.
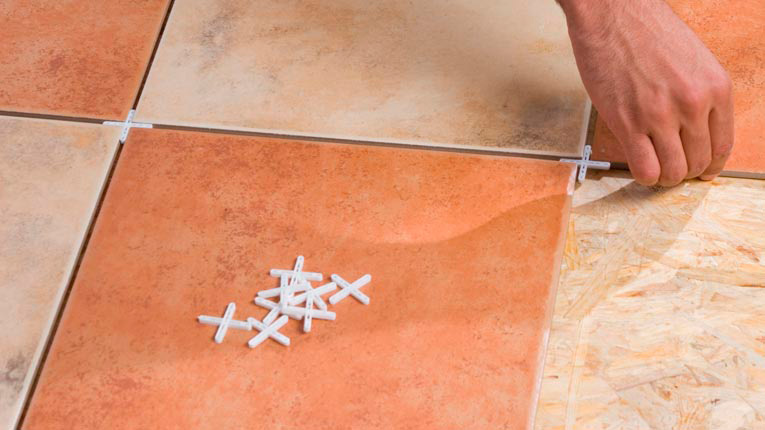
It is vital that you leave space between the tiles and the corner because tiles can expand. You can use spacers to ensure they have enough room.
Next, you will begin tiling the other side of the corner. Although there will be a spacer that leaves a clearance gap, you can fill this in with caulk.
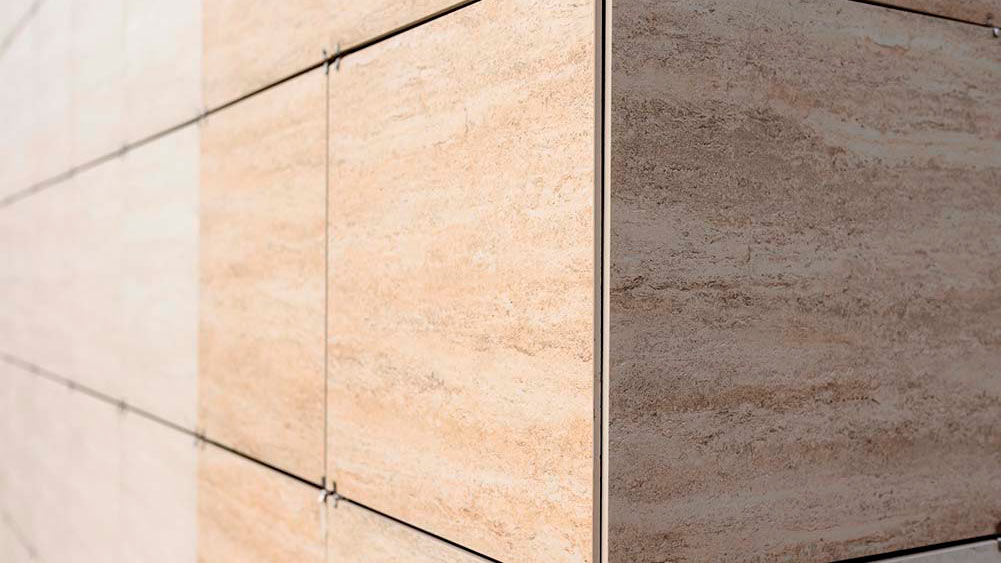
For external corners (those of more than 180 degrees), the process is the same, with the added step of miter cutting the edges of the tiles that will sit over the tip of the corner. Once they have been miter cut, they will fit together seamlessly at the edges.
Fix the Gaps
As mentioned above, it is vital that you fix the gaps between your tiles. Many people put grout in the corner gaps, but grout isn’t the best option. If you use grout, it is likely that it will crack over time if the tile’s joint isn’t of the proper width.
Instead, a better option is to use some type of caulk to fill the gaps between your corners. Whether you use latex, silicone, or acrylic caulk, it will be much stronger and will last longer.
Caulking these gaps will prevent water from seeping through the wall and will keep it sealed.
Grout Lines
Finally, it is important to grout your tiles. You want to spread the grout in all directions over the tiles. Going in several directions will ensure that there are no empty spaces and that each joint of your tiles is filled.
Before the grout dries, you want to wipe the excess off with a wet sponge. This will ensure that your tiles have a polished and shiny finish. You can also polish your tiles with a dry cloth once you have removed the excess grout.
Get Help Tiling Around Corners Today
If you are beginning a tiling project, it can be difficult to know where to start. However, you can get expert help tiling around corners. By using the right tools and consulting professionals, you can make this job much easier.
If you want help learning how to lay tile, RUBI can help. We offer professional tools that can help improve your tiling.
Contact our team today to learn more about our products. You can also check out our blog to learn more about laying tile and for other tips and tricks.

Post a comment