If you’ve read our opinion on the pitfalls of groutless tile installation, you’ll know how strongly we believe that grouting can make all the difference to your tiling job. Yes, grouting takes up a lot of time and can be meticulous work. But it also makes your tiled surfaces last longer, and well-applied grout can make up for the often-unnoticeable differences and imperfections in seemingly identical tiles. And yet, despite how crucial grout is to the finished product, grouting is often treated as an afterthought and not given the respect it deserves. That said, it needn’t take years of experience for you to achieve professional-grade grouting. You just have to make sure that you take your time and put in the necessary care and attention as you progress from one essential step to the next. Read on to find our top 10 tile grouting tips and techniques for ensuring efficient grout application every time.
Clean the Joints
Whether you’re grouting old tiles or new ones, it’s vital that the joints are free of dirt and debris before you begin. Use a knife or blade to scrape between the joints to get rid of any build-up. Clearing out the joints like this ensures that the grout has enough space to fill the joints between the tiles for stronger, more long-lasting bonds. It also means the grout will settle better for a more even and regular appearance.
Choose the Right Type of Grout
There are two main types of grout for tiling jobs – sanded and unsanded. The type of grout you choose depends on how big the grout joints are, which is determined by what size tile spacers were used when the tiles were laid down. Sanded grout is best for joints larger than 1/8 inch in width. As the name suggests, this type of grout is mixed with fine sand. This makes it more suitable for filling larger joints as there’s less chance of it shrinking or cracking. Unsanded grout is best for narrower joints. The sand content of sanded grout can take up too much space in narrower joints, resulting in a weak structure. And, although unsanded grout shrinks as it dries, since the joints are narrow this shrinkage won’t be noticeable. The type of tile you use also makes a difference to the best type of grout. For example, you should avoid using sanded grout on soft stones like polished marble or limestone as the sand can scratch or damage the surface of these tiles.
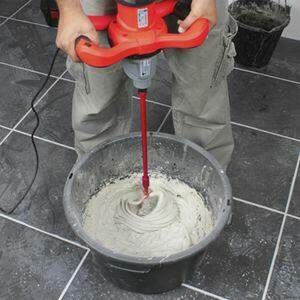
Get the Mixing Right
Knowing how to mix grout is the step that trips a lot of people up when grouting tile. But, get your mixing right, and the whole process will be a lot easier. First and foremost, don’t mix up too much grout at a time. The grout you mix up is only good for about half an hour anyway, so try to mix up no more than you can use in that time. Once you’re done, mix some more. Along the same lines, avoid mixing whole bags of grout. Getting the consistency right means you might have to add more powder later. If the grout is too runny and you’ve used up your whole bag, you’ve got no way of making the mix thicker. As for the right consistency, your grout shouldn’t drip or fall when you apply it. As a guide, aim for grout that spreads like creamy peanut butter.
Let the Grout ‘Slake’
Once you’ve got your peanut butter-like grout ready to go, another pro tip is to let the mixture ‘slake’ (rest) for five minutes. Leaving the grout to slake ensures the bonding materials in the grout powder can work their magic. As a result, your joints will be stronger and less prone to cracking. When you come back your grout will feel stiffer, but you shouldn’t add more water. Instead, mix the grout around by hand to loosen it up and get it ready for application.
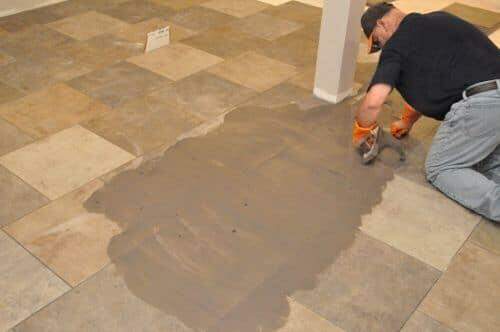
Work in Sections
Timing is everything when you’re grouting tiles. For this reason, it’s a good idea to work in smaller sections across your tiled surface – especially if you’re a beginner. If you attempt to grout an entire room before starting the cleaning process, this could mean leaving some sections on for too long. As a result, you’ll find it difficult to clean off the excess grout. Your first section will be whatever you can do in half an hour. Then, mix a new batch of grout and start on your second section. By the time you’ve finished grouting the second section, the first section should be ready for cleaning.
Perfect Your Grout Float Technique
While a trowel will do the trick, a grout float is a much more efficient tool for grouting tiles. But, whichever tool you use, your technique needs to be spot on for the best results. Choosing the right grout float it is also very important. For joints larger than 1/8 inch in width, it would be recommended a hard rubber float, to help pushing down the grout without the risk of empty it at the same time. If the joint is smaller than 1/8 inch, then is would be better a soft rubber, in order to compact easier the grout into the joint. Most people find that spreading the grout across the grout joints in a diagonal motion is the best application method. This way you don’t run the risk of digging the edges of the grout float into the joints and taking out the grout. To apply the grout, hold the float at a low angle of around 30 degrees when tiling walls. The standard angle for grouting floor tiles is about 45 degrees. Once you’ve finished your current work area, pass the float over the tiles to remove excess grout from the surfaces of the tiles. Use your grouting float at a steep angle this time, holding it at around 80 to 85 degrees. This cleans the tiles without disturbing the grout in the joints.
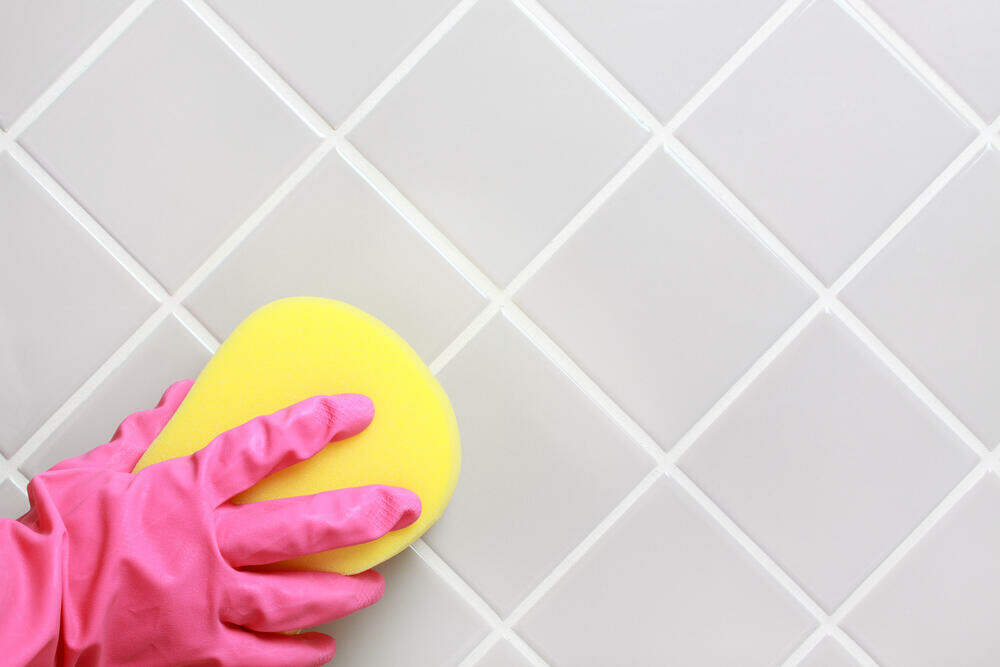
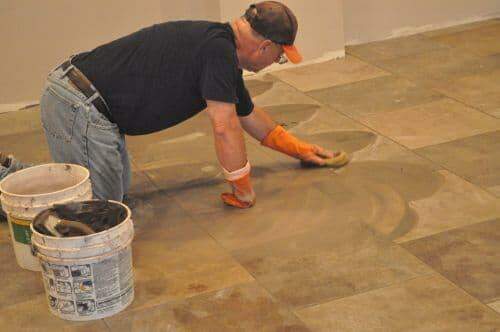
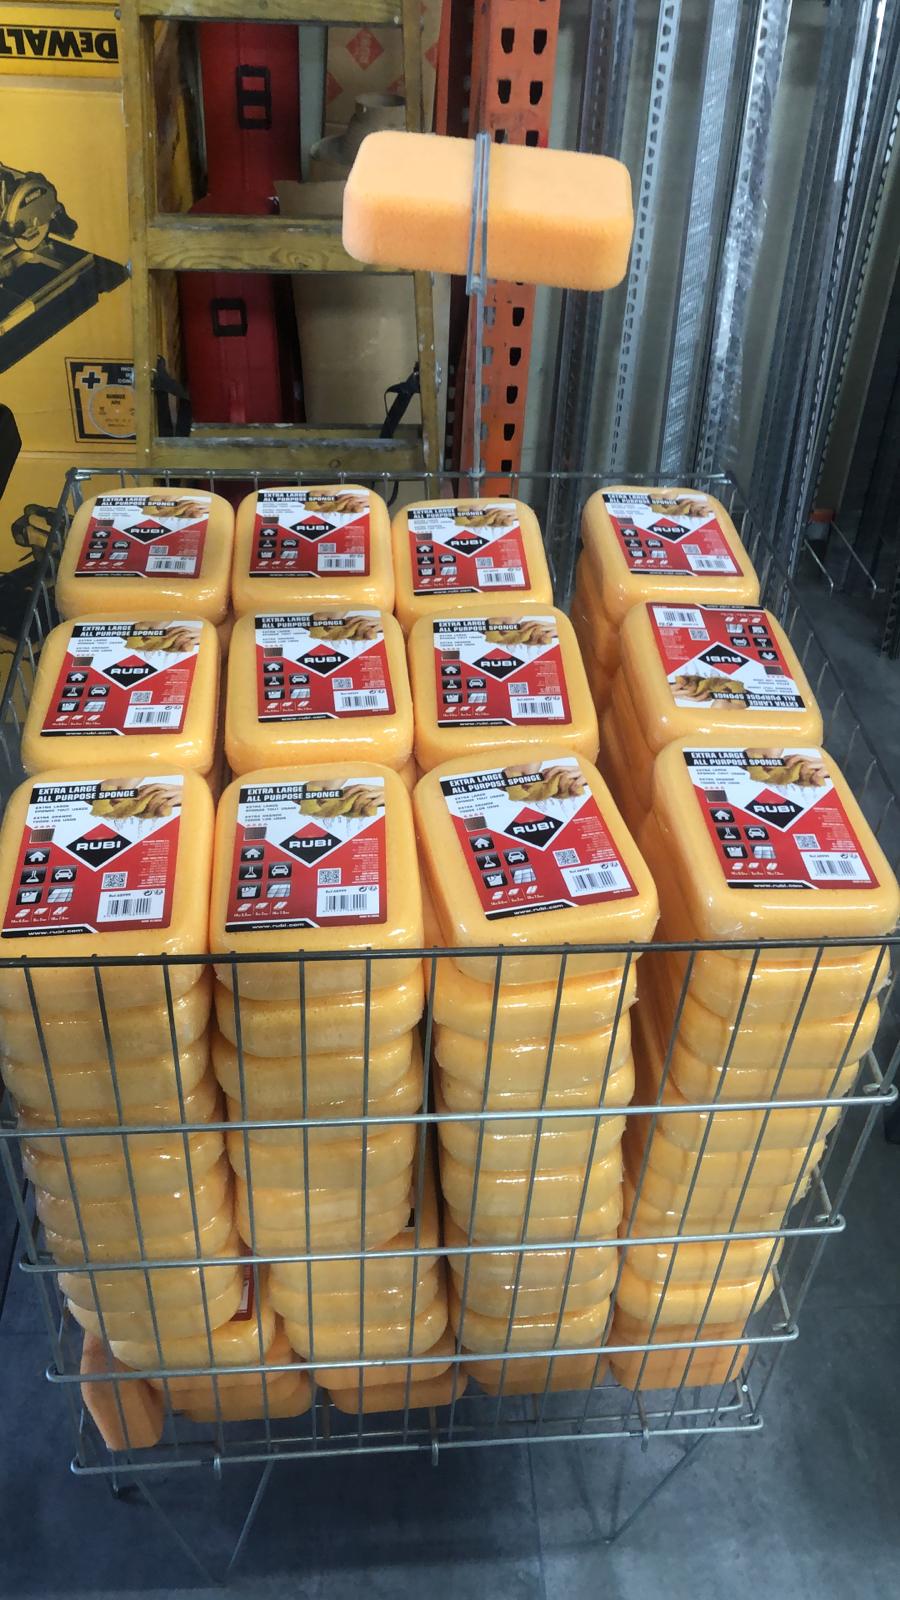
Use the Right Cleaning Tools on Your Tiles
It’s also crucial to choose the right cleaning tools for your grouting project as well to clean it in the right the moment. The first of these is a hydrophilic pro cleaning sponge. After 20 to 30 minutes the grout will have started to harden. Sweep a damp (not wet!) hydrophilic sponge across the tiles, again using a diagonal motion, to remove the excess grout. Rinse your sponge out in a bucket of clean water and repeat until only a thin haze remains on the tiles. If the sponge leaves water running down the tiles, you need to wring it out more. The second important cleaning tool is a microfiber towel. This is what you’ll use to remove the haze. Microfiber towels are much more effective than regular towels as they remove grout haze much faster and leave a cleaner surface area behind. When is the right moment to clean the grout? Of course, you can let the grout get dry and to clean later, but it will cost much more effort. To clean when the grout is still fresh must be avoided… then… when? There is a tip that we can use always. If touching the grout, with our finger, the grout gets stuck on our fingerprint, means that is too fresh. If touching it, finger remains clean, that will be a good moment to clean the grout.
Remember to ‘Tool’ the Grout Lines
To ensure a regular, even finish between your tiles, you should ‘tool’ the grout joints as needed. You can do this using your index finger for joints up to 3/16 wide, while a grout joint tool is necessary for wider joints. The goal is to smooth out high or uneven grout lines, shaping all the joints into a consistent concave shape with an even depth. Apply pressure with your finger or grout joint tool as you move across all the joints, removing excess grout as you go along.
Leave Floor Grouting for 24 Hours
If your bathroom project involves grouting the floors as well as the walls, the process is more or less the same. But, when tiling the floor, it’s important to plan your working pattern so as not to walk across freshly grouted tiles. If you do, the grout won’t cure properly. As such, you should make sure that you can leave the room for 24 hours once you’re finishing grouting. This is how long it will take for the grout on the floor to cure.
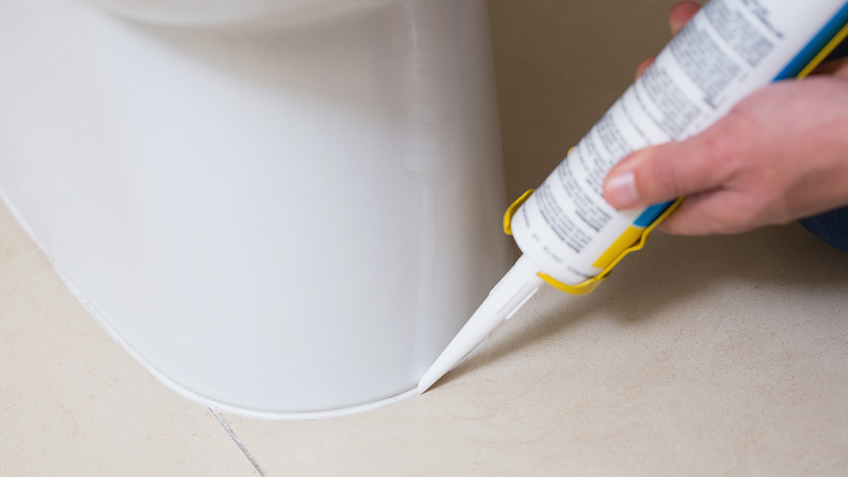
Apply a Sealant
Exterior sealants help protect your surfaces from dirt penetration. But using sealants on interior surfaces like your newly grouted tiles is just as important. Once the grout has cured, applying a sealant will help to prevent mold growth and other forms of water damage. To apply the sealant, pour a small amount onto the grout and work it in with a sponge, rubbing in small, circular motions. After around 10 minutes, wipe off the sealant with a microfiber towel. Re-applying sealant every six months will help prolong the life of your grouting job. Guarantee Great Results with These Tile Grouting Tips We can’t pretend that grouting is an easy part of the tiling process. But, by following these tile grouting tips to the letter, you’ll save yourself the time and effort of having to redo a bad grouting job a few months down the line. Above all, it pays to think through each part of the grouting process before you rush into anything. Grouting requires a degree of perfectionism, as well as a lot of patience, so taking your time is essential for a successful grout application. And, of course, having the best tools helps too. For our full range of tools and accessories, download our catalog now, or contact us for more information.
If you are unable to find some of our products we might be able to help you by suggesting other distributors. What city and country are you located in?


Rubi grouting gun – not easy to find in big box stores
If you are unable to find some of our products we might be able to help you by suggesting other distributors. What city and country are you located in?