
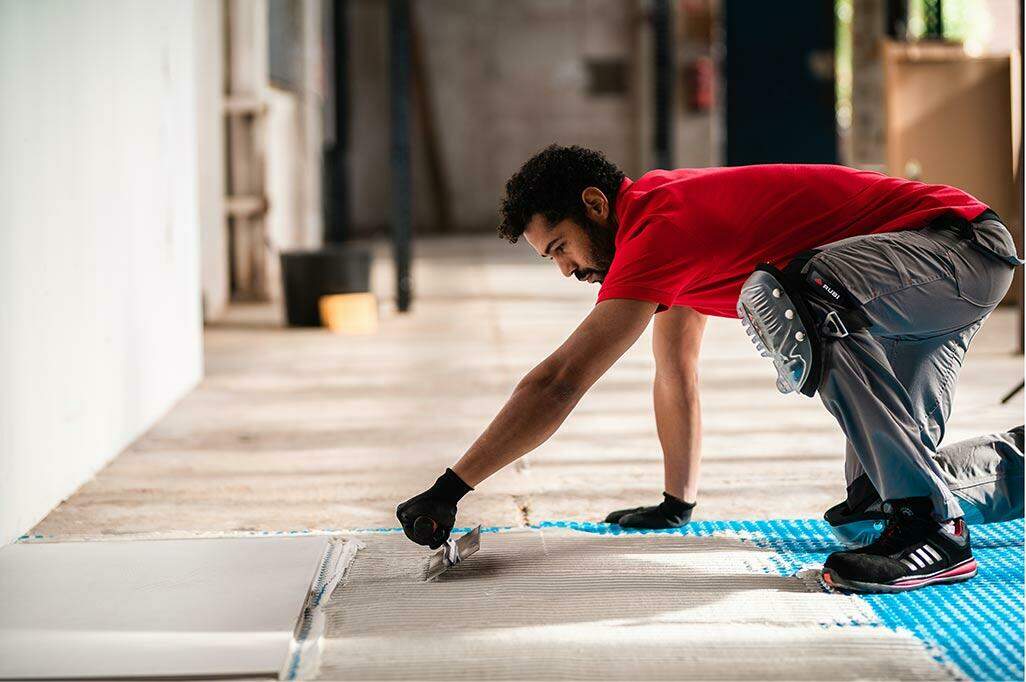

Tiling is a skilled job that requires a good amount of planning, but we are here to help you get the flawless finish you deserve. Whether you’re tiling a full bathroom, a kitchen splashback, a shower floor, or working on smaller areas that require precise skill like a fireplace, understanding the correct tiling process is essential.
In this comprehensive guide, we will take you through everything you need to know about how to tile. From prepping the surface and mixing the adhesive, to the types of tools you’ll need and the different methods for installing tiles on floors, walls, and specialised environments.

Essential Tiling Tools and Materials
Before beginning the tile installation steps, it is vital to choose the right tiling tools. By choosing the correct equipment for tiling work, you will decrease the time needed to complete the project, prevent damage to the materials, and ensure your own safety.
Here is what you will need:
Safety Gear: Protective gloves, safety goggles, and high-quality knee pads.
Your chosen tiles: Ceramic, porcelain, or natural stone. Add 10% extra for wastage.
Tile Cutter: A manual cutter for straight lines or a wet saw for complex cuts.
Adhesive & Grout: Powdered or ready-mixed, suited to your room type.
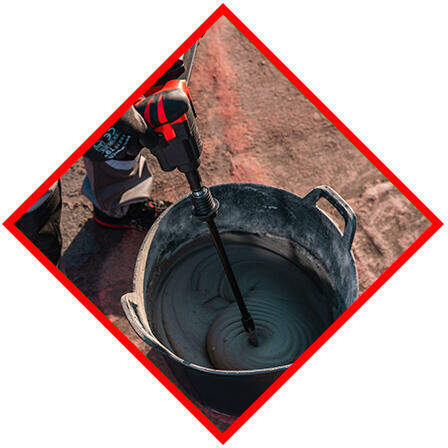
Electric Mixer: Essential for a smooth, lump-free adhesive mix.
Notched Trowel: The tile trowel size will depend on the dimensions of your tile.
RUBI tile spacers: Ranging from 1mm to 10mm to keep grout lines perfectly even.
Levelling System: Clips and wedges to eliminate lippage (uneven edges) on large format tiles.
Grout Float & Sponge: For working the grout into joints and cleaning off the excess.
How to Tile: The Step-by-Step Tiling Process
Step 1: Preparing the Surface
Before you start, it’s critical to make sure the surface you’ll be working on is clean, dry, firm, and—most importantly—flat. If you are preparing a wall for tiling, strip back any old wallpaper or flaking paint to the bare plaster. Fill in any holes or cracks with a suitable filler, then coat the area with an appropriate primer to ensure the adhesive bonds correctly.
Step 2: Planning Your Tile Layout (Finding the Centre)
Always plan your layout before you start sticking tiles down. Careful planning ensures your wall or floor has a balanced, symmetrical look and prevents you from leaving thin, awkward cuts at the edges.
If your layout leaves a sliver of tile less than half a tile wide at the perimeter, adjust your centre point to ensure a wider, more aesthetically pleasing cut on both sides.
Find the centre of the wall or floor and mark a crosshair with a pencil and spirit level.
Create a gauge rod (a timber batten marked with the widths of your tiles and spacers) to work out where the edge tiles will fall.

Step 3: Mixing the Tile Adhesive
Learning how to mix adhesive correctly is paramount. Select the right adhesive for your room; whilst ready-mixed pastes are fine for small ceramic splashbacks, powdered adhesive mixed with water is essential for porcelain, floors, and wet rooms. Use an electric mixer to blend the powder and water until you achieve a thick consistency, similar to peanut butter. It needs to hold its shape so the ridges won’t collapse before the tile is set.
Step 4: Spreading Adhesive and Back-Buttering
Scoop the adhesive and spread it across roughly 1m² of the surface (an area you can confidently tile in 15-20 minutes). Using a tile trowel, comb the adhesive in straight, horizontal lines at a 45-degree angle. Straight ridges allow the air to escape easily when you lay the tile, ensuring a stronger bond.
Top Tip: If you are laying porcelain, natural stone, or any tile larger than 20x20cm, you must “back-butter” the tile. This involves applying a thin, flat layer of adhesive to the back of the tile before pressing it onto the combed wall or floor mortar.
Step 5: Laying the Ceramic or Porcelain Tiles
Place your first tile firmly into the adhesive with a slight twisting motion to collapse the ridges and create a solid grip. Insert your tile spacers at the corners and continue laying. Regularly use a spirit level to check the tiles are flat. If you are using a levelling system, insert the clips under the tile edges and use the wedges to align the adjacent tiles perfectly flush.
A common mistake when laying tiles is letting adhesive dry on the face of the tile; always keep a damp cloth nearby to wipe off accidental smudges as you go!
Step 6: Cutting Edge Tiles for a Perfect Fit
As you reach the edges of the room, you will need to cut tiles to fit the remaining gaps. To learn how to use a tile cutter effectively, remember that a manual cutter is excellent for straight, clean snaps. For L-shapes, curves around pipes, or extremely thick outdoor porcelain, an electric wet saw or angle grinder will be your best friend.
Step 7: Grouting and Finishing
Leave the adhesive to cure fully (usually 24 to 48 hours). Remove your spacers and levelling wedges. Mix your grout and use a rubber grout float to press it deeply into the joints using a diagonal motion. Scrape the excess off the tile face with the edge of the float. Wait 15-20 minutes for the grout to firm up, then wipe the tiles clean with a damp sponge in circular motions. Once fully dry, buff the tiles with a microfibre cloth to remove the remaining grout haze.
How to Tile According to the Room
How to Tile a Bathroom (Wet Areas)
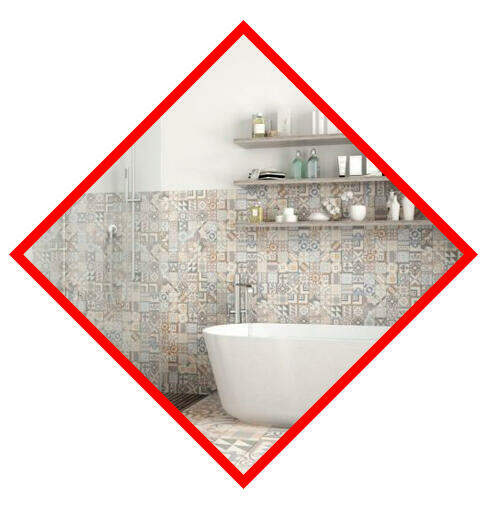
When laying bathrooms tiles, the environment demands special attention. British standards state that wet areas must be fully tanked (waterproofed) before tiling, as tile adhesive and grout are only water-resistant, not waterproof. Choosing a tile adhesive with high flexibility (such as D2TE or powdered flexible adhesives) is crucial to cope with moisture and temperature changes.
How to Tile a Kitchen Floor or Splashback
This also allows you to not only tile more effectively, tiling out of the room so that you finish by the door. But by starting in the middle of the room, the tiles are laid to best suit someone’s line of sight when walking into the room.
Kitchens are high-traffic areas, making durable porcelain tile a far superior choice over standard ceramic for the floor. When tiling a kitchen splashback, you can often use smaller, highly decorative tiles (like metro or mosaics) fixed with ready-mixed adhesive. Remember to plan your layout around fixed focal points, such as the cooker hood or window.
How to Lay Porcelain Tile Outside
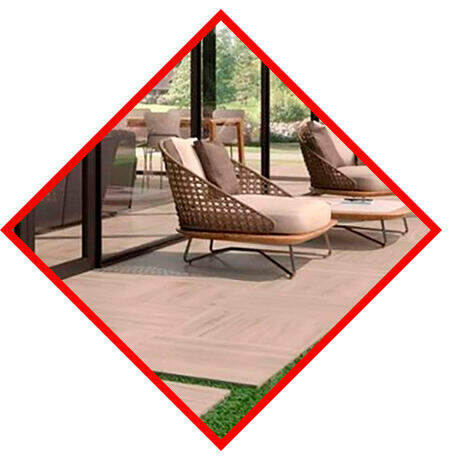
External porcelain paving has exploded in popularity. These tiles are typically 20mm thick, frost-proof, and load-bearing. Tiling outside requires weather-resistant, flexible adhesives and an appropriate solid concrete sub-base with a slight slope to ensure rainwater drains away safely.
How to Lay Specialised Tiles
Tiling on Concrete Floors
If properly prepared, concrete can be a great base for a tiled floor. Ensure the concrete is fully cured, dry, and level. If the floor is uneven, apply a self-levelling compound first to create a perfectly flat substrate before spreading your adhesive.
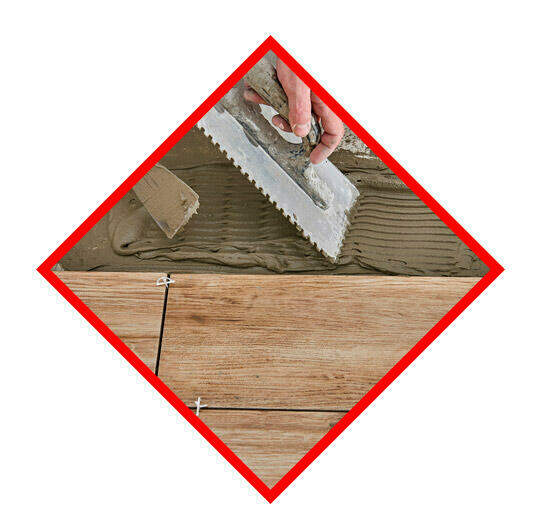
Wood Effect Tiles
Wood-effect tiles are a fantastic, durable alternative to real hardwood. However, because they are manufactured in long planks, they often have a slight natural bow in the centre. You must lay these tiles in a one-third (1/3) or one-quarter (1/4) staggered bond rather than a 50:50 brick bond. This drastically reduces the risk of “lippage”.
Tiling Over Underfloor Heating
Underfloor heating causes the substrate to expand and contract constantly. To prevent your tiles from cracking, you must encase the heating wires in a self-levelling compound first. Once dry, stick your tiles down using a highly flexible, polymer-modified powdered adhesive that can absorb the thermal movement.
Popular Tile Patterns to Elevate Your Space
The way you arrange your tiles can drastically alter the perception of a room:
- Brick Bond & Stepladder: A classic 50:50 or 70:30 stagger mimicking brickwork. The stepladder is simply a vertical brick bond, brilliant for making low ceilings feel taller.
- Herringbone & Chevron: A classy arrangement of rectangular tiles laid in a 45-degree V-shape. Highly elegant, though it requires meticulous planning and many intricate cuts.
- Linear & Modular: A straightforward grid that looks hyper-modern when paired with contrasting grout. Modular uses mixed sizes to create a structured yet varied aesthetic.
- Basket Weave & Windmill: Traditional patterns that interlock vertical and horizontal tiles to create a woven, striking focal point.
Frequently Asked Questions (FAQs)

Where should I start when tiling a wall or floor?
You should always start in the centre of the wall or floor. Find the midpoint by measuring the width and length, and snap chalk lines to create a cross. Starting in the centre ensures your layout is perfectly symmetrical and prevents you from ending up with tiny, awkward tile slivers at the edges of the room.
Can I tile directly onto a painted wall?
Generally, no. Emulsion paint is water-based; if you apply wet tile adhesive directly over it, the paint can reactivate and peel away from the plaster under the weight of the tiles. You must scrape, sand, or score the painted surface heavily to expose the plaster, ensuring a strong, secure bond.

Keep me updated
Great after study
Your careful information provided to the readers has been appropriate and useful.I for one greatly appreciate it.
Starting out tiling as a hobby and will like to learn all it takes to be successful
You have done and have being doing a very good job, may God bless you more!
Good quality accessories and tools can be very helpful for tiling process. Powerful adhesive, leveling plan and system etc. play a very important part. Thanks. Keep it up!
Xtra Step 12mm Laminate Flooring Warrington
Dear Author, Your blog on tiling is a treasure trove of information, offering a comprehensive guide from material selection to intricate tiling patterns. Your emphasis on surface preparation and adhesive mixing is crucial for a successful installation. I especially appreciate the detailed explanation of different tile patterns like herringbone and windmill, which can truly elevate the aesthetics of any space. Your blog is a valuable resource for both beginners and experienced tilers alike. Thank you for sharing your expertise!
Amazing procedures
This guide is incredibly detailed! I appreciate the step-by-step instructions and the inclusion of tips for avoiding common mistakes. It’s reassuring to know I can refer to this when I start my tiling project.
How to use tiles
Your guide on tiling steps, materials, and methods for different rooms is very informative. I appreciate the attention to detail in selecting the right tile for each space. Adding some troubleshooting tips for common tiling challenges would make it even better. Keep up the great work!
I need tools of tiles and how to buy it
Great blog! How to Tile: Steps, Materials, and Methods According to Room is a comprehensive guide that takes the guesswork out of tiling projects. By breaking it down room by room, it helps readers choose the right materials and techniques for each space—whether it’s a kitchen, bathroom, or entryway. Super informative and practical for DIYers and pros alike!
the instruction is educative and workable
Thank you for providing such valuable information on tile floor.